Delivering images from cloud file storage.
4 min read
Imagine you’re building an e-commerce application. Product images are, for obvious reasons, a core feature. The common practice for storing these images is to place them in cloud file storage services like Google Cloud Storage (GCS) or AWS S3. But have you ever considered the best way to expose them to your user-facing frontend? Let’s discuss a few common methods for delivering images from cloud storage to the frontend and my preferred approach.
Disclaimer: While I’ll be using Google Cloud Storage as an example, the principles and methods discussed are generally applicable to other cloud providers as well.
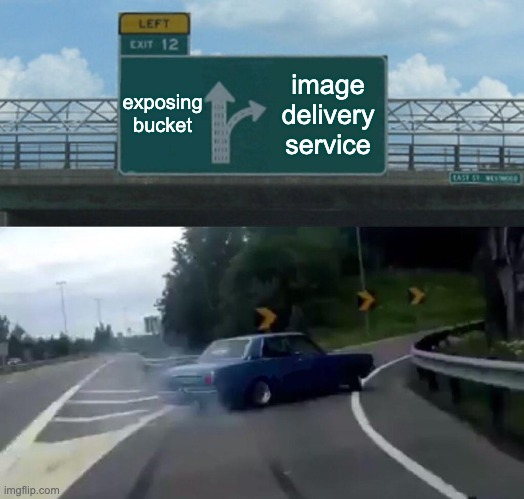
Method 1: Public Buckets and Direct URLs
The simplest way to deliver images from your file storage is to make the bucket publicly accessible and construct a deterministic URL to access each image. For instance, in GCS and Firebase Storage, you can form URLs like https://storage.googleapis.com/{bucket}/{path}. This method is the easiest to implement, but for obvious reasons, it’s the least secure, unless incurring significant Google Cloud costs is your primary objective.
bucket = staging.app
file_path = products/123.jpg
url = https://storage.googleapis.com/staging.app/products/123.jpg
You could also create a proxy using Cloudflare from your domain to the bucket (the bucket name must match the subdomain, and it still needs to be public), but this doesn’t fundamentally improve security.
Method 2: Pushing to a Dedicated CDN
Another approach to delivering images is to upload them directly to a dedicated CDN (Content Delivery Network) service, such as Cloudflare or BunnyCDN. The workflow would typically look something like this:
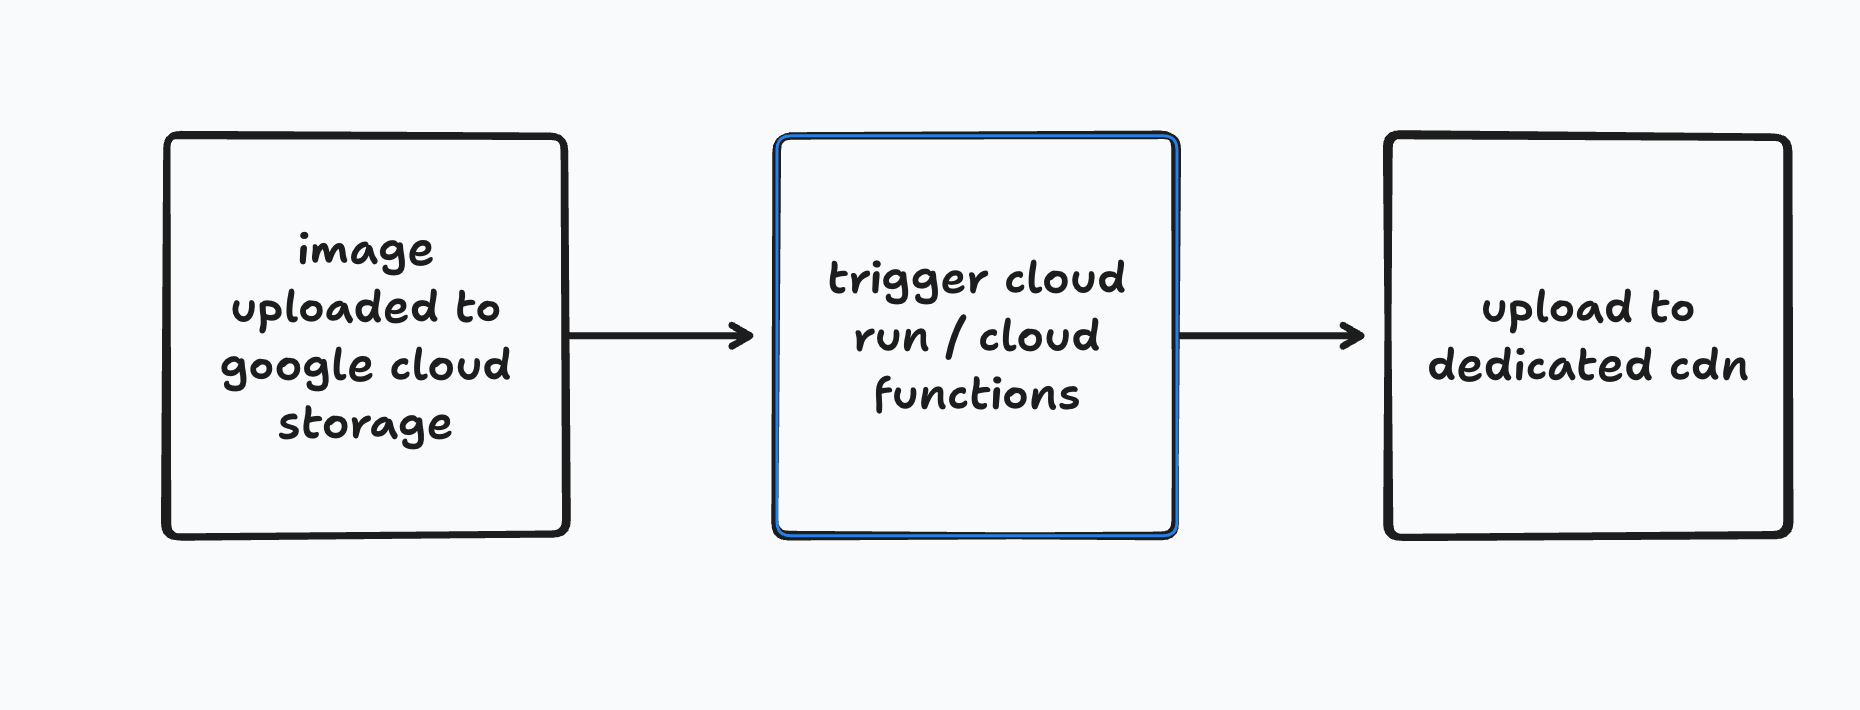
While this method can work, it requires you to implement a “connector” or integration to push images to your chosen CDN provider, which introduces an additional point of failure. Notice the word “push” here. What if I told you there’s a more efficient “pull” delivery method instead?
Method 3: Pull-Based Delivery with ImageKit (Recommended)
What do I mean by pull delivery? Essentially, it functions like a cache read-through. When an application requests an image URL from the CDN, the CDN first checks its local cache. If there’s a cache miss, it then requests the image from the origin server (your cloud storage bucket) and caches it for future requests. Let’s explore how to implement this for image delivery.
Enter ImageKit, an image and video delivery service packed with powerful features like real-time image transformation and optimization. Under the hood, ImageKit leverages Amazon CloudFront, ensuring excellent performance.
One of ImageKit’s most compelling features is its external storage capability. This allows you to connect your ImageKit service to an existing file storage provider like Google Cloud Storage. ImageKit will then automatically pull requested images from your private bucket when they are not readily available in its cache.
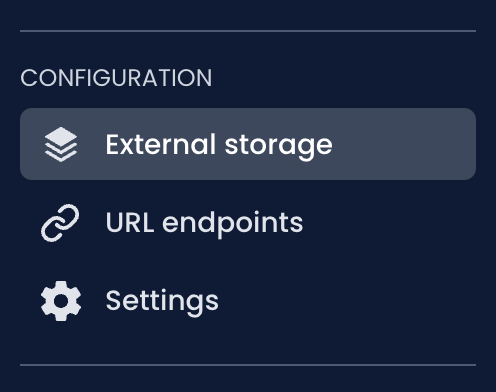
Setting Up External Storage with ImageKit and GCS
Let’s walk through the steps to set up this external storage.
-
Create a Dedicated Service Account in GCP: First, create a service account specifically for ImageKit to authenticate and authorize access to your private bucket. Open your Google Cloud Console, navigate to IAM & Admin -> Service Accounts. Create a new service account; a suitable name might be imagekit-reader. Assign the
Storage Object Viewerrole to this service account.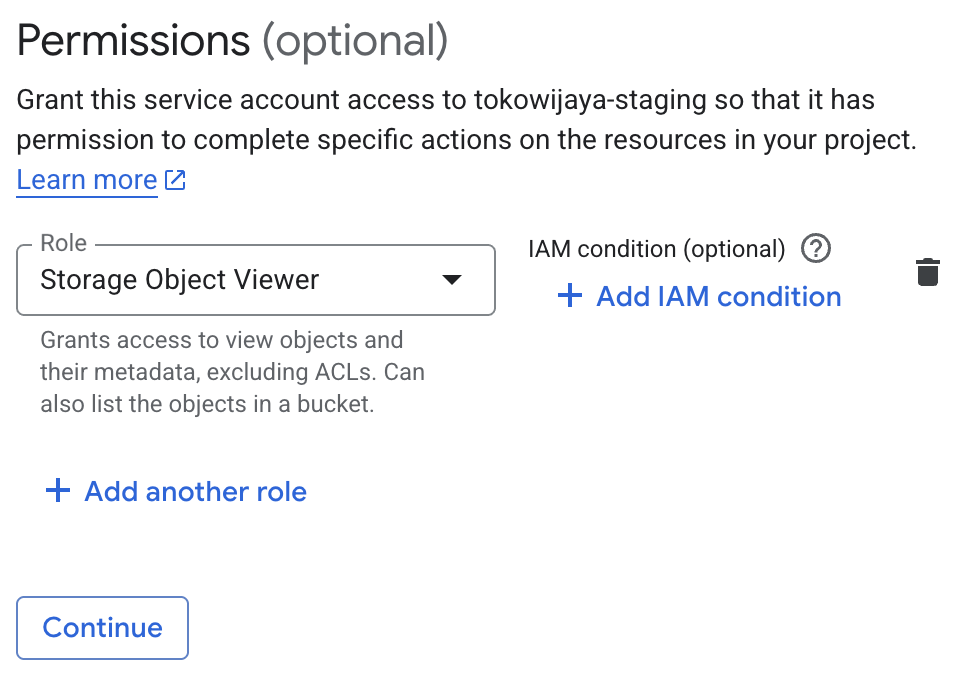
-
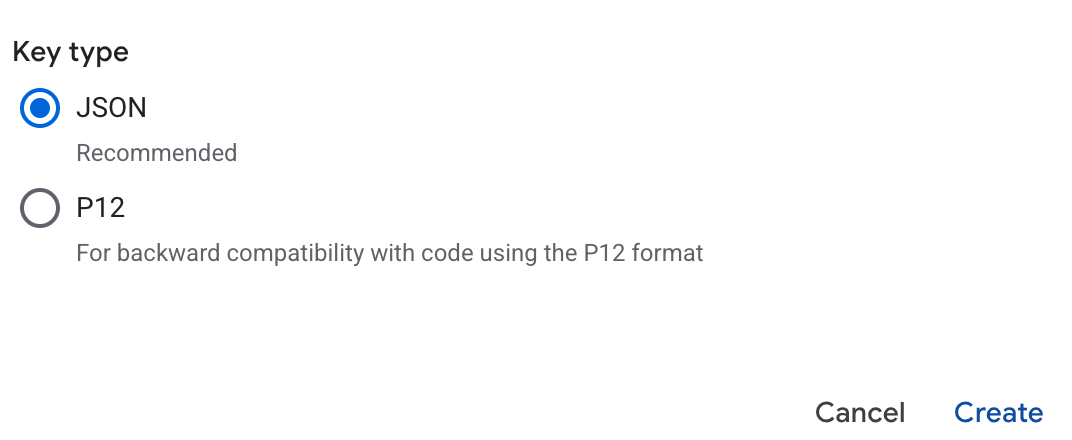
Generate and Download Service Account Key: Once the service account is created, open it and go to the “Keys” tab. Create a new key, select “JSON” as the key type, and then download the key file.
-
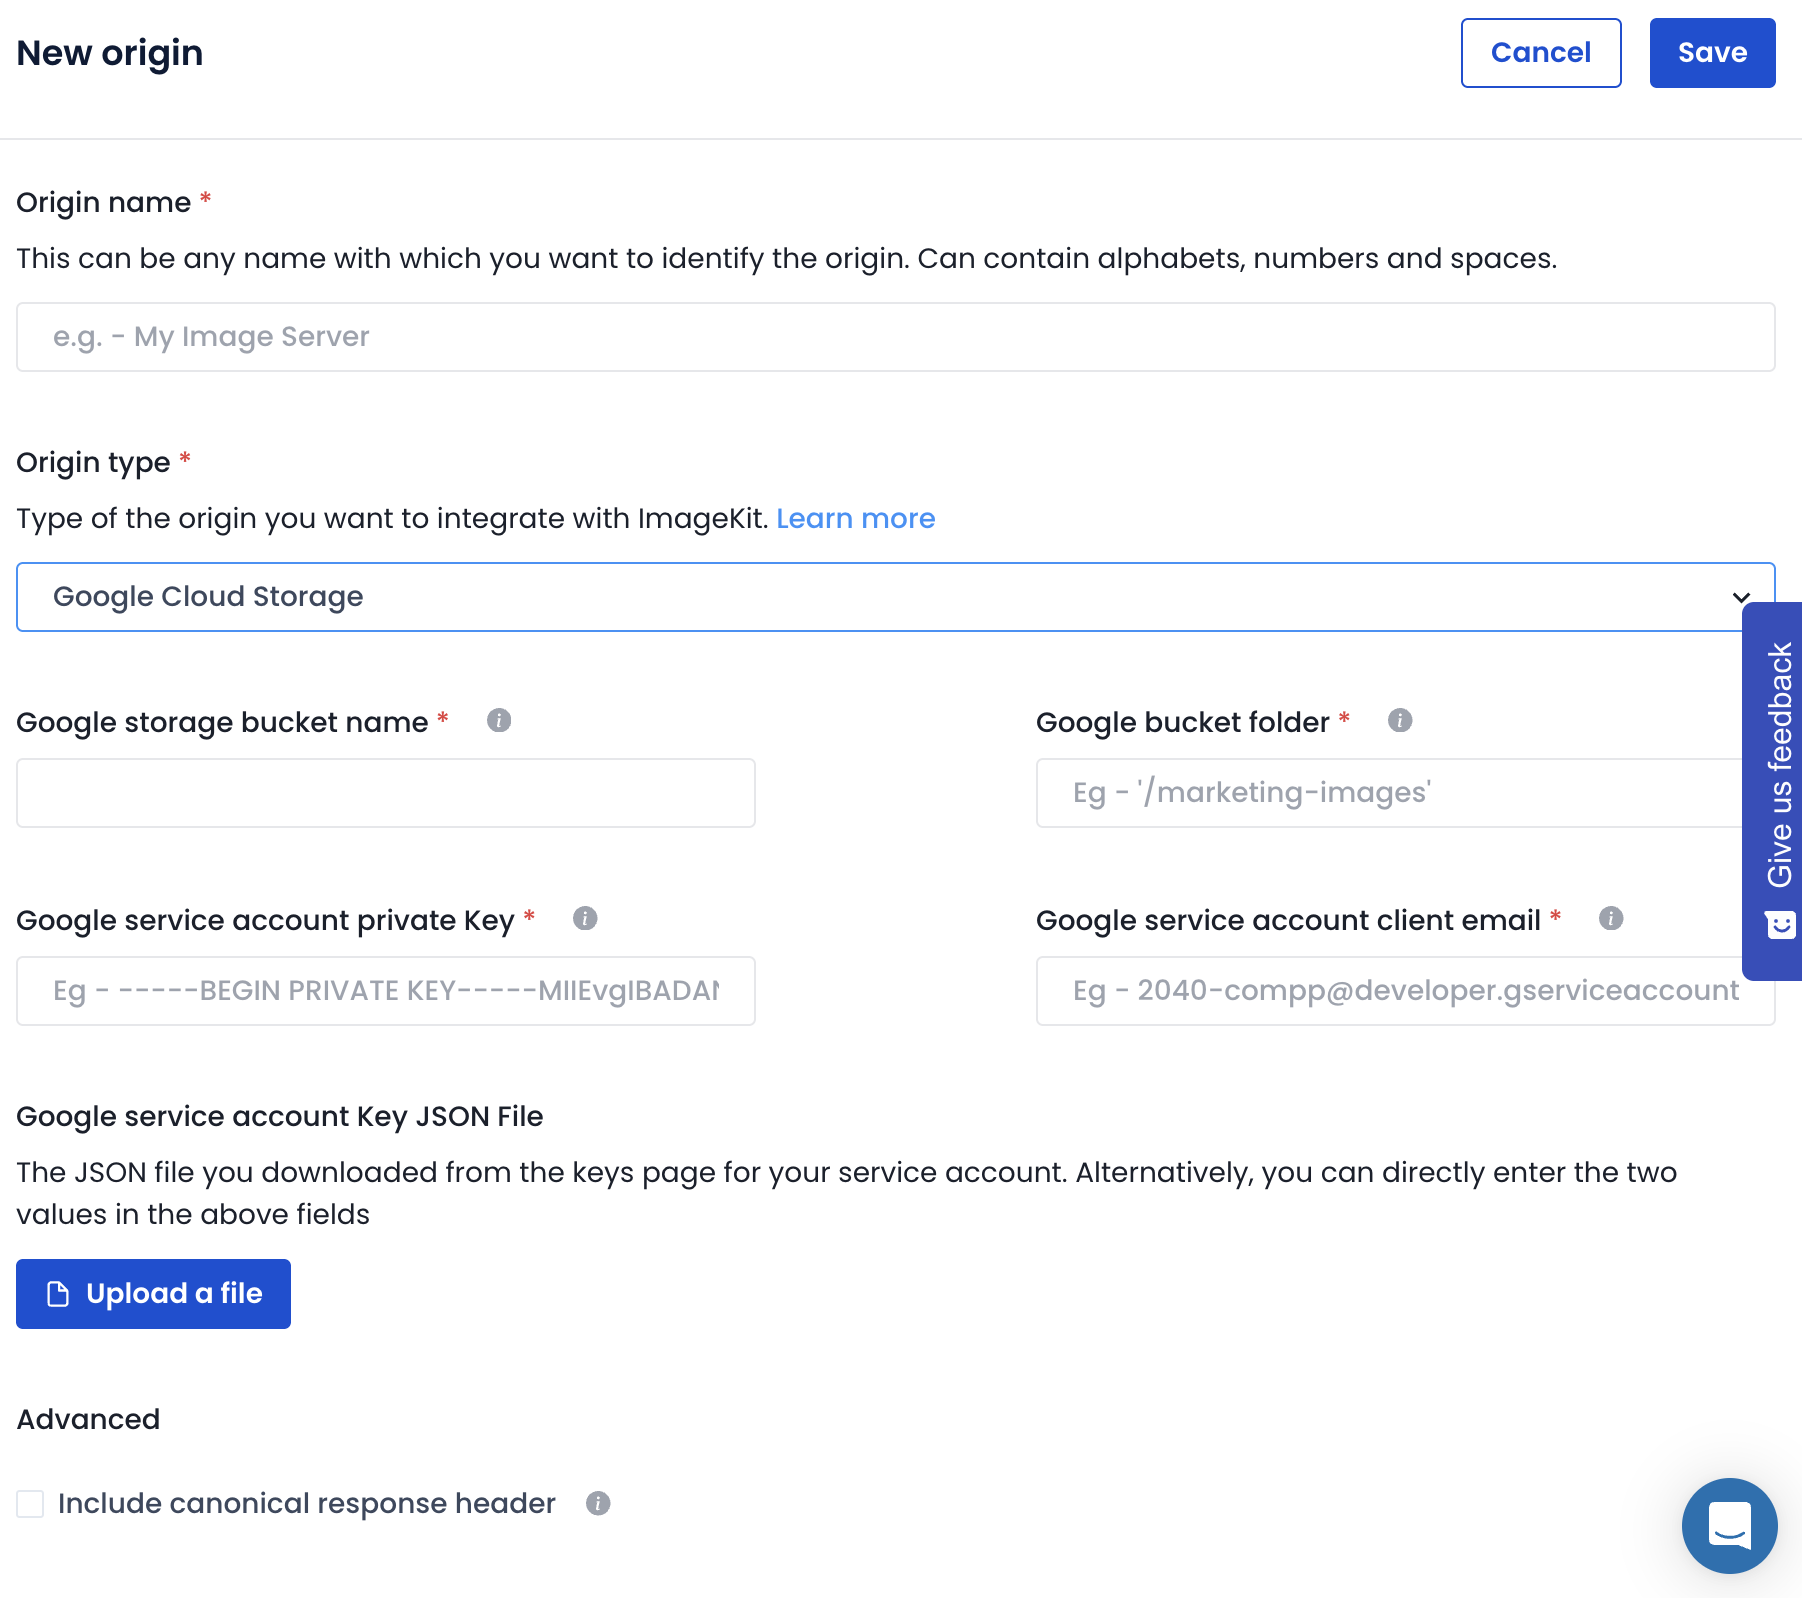
Configure External Storage in ImageKit: Next, create a new ImageKit account if you haven’t already, and navigate to the “External Storage” page. Create a new external storage configuration by selecting “GCS” as the origin type. Input your bucket name and specify a folder if needed. Finally, upload the previously downloaded service account key file.
-
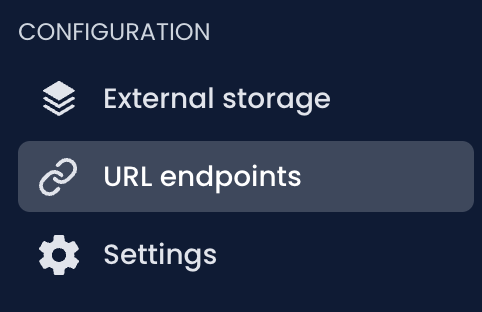
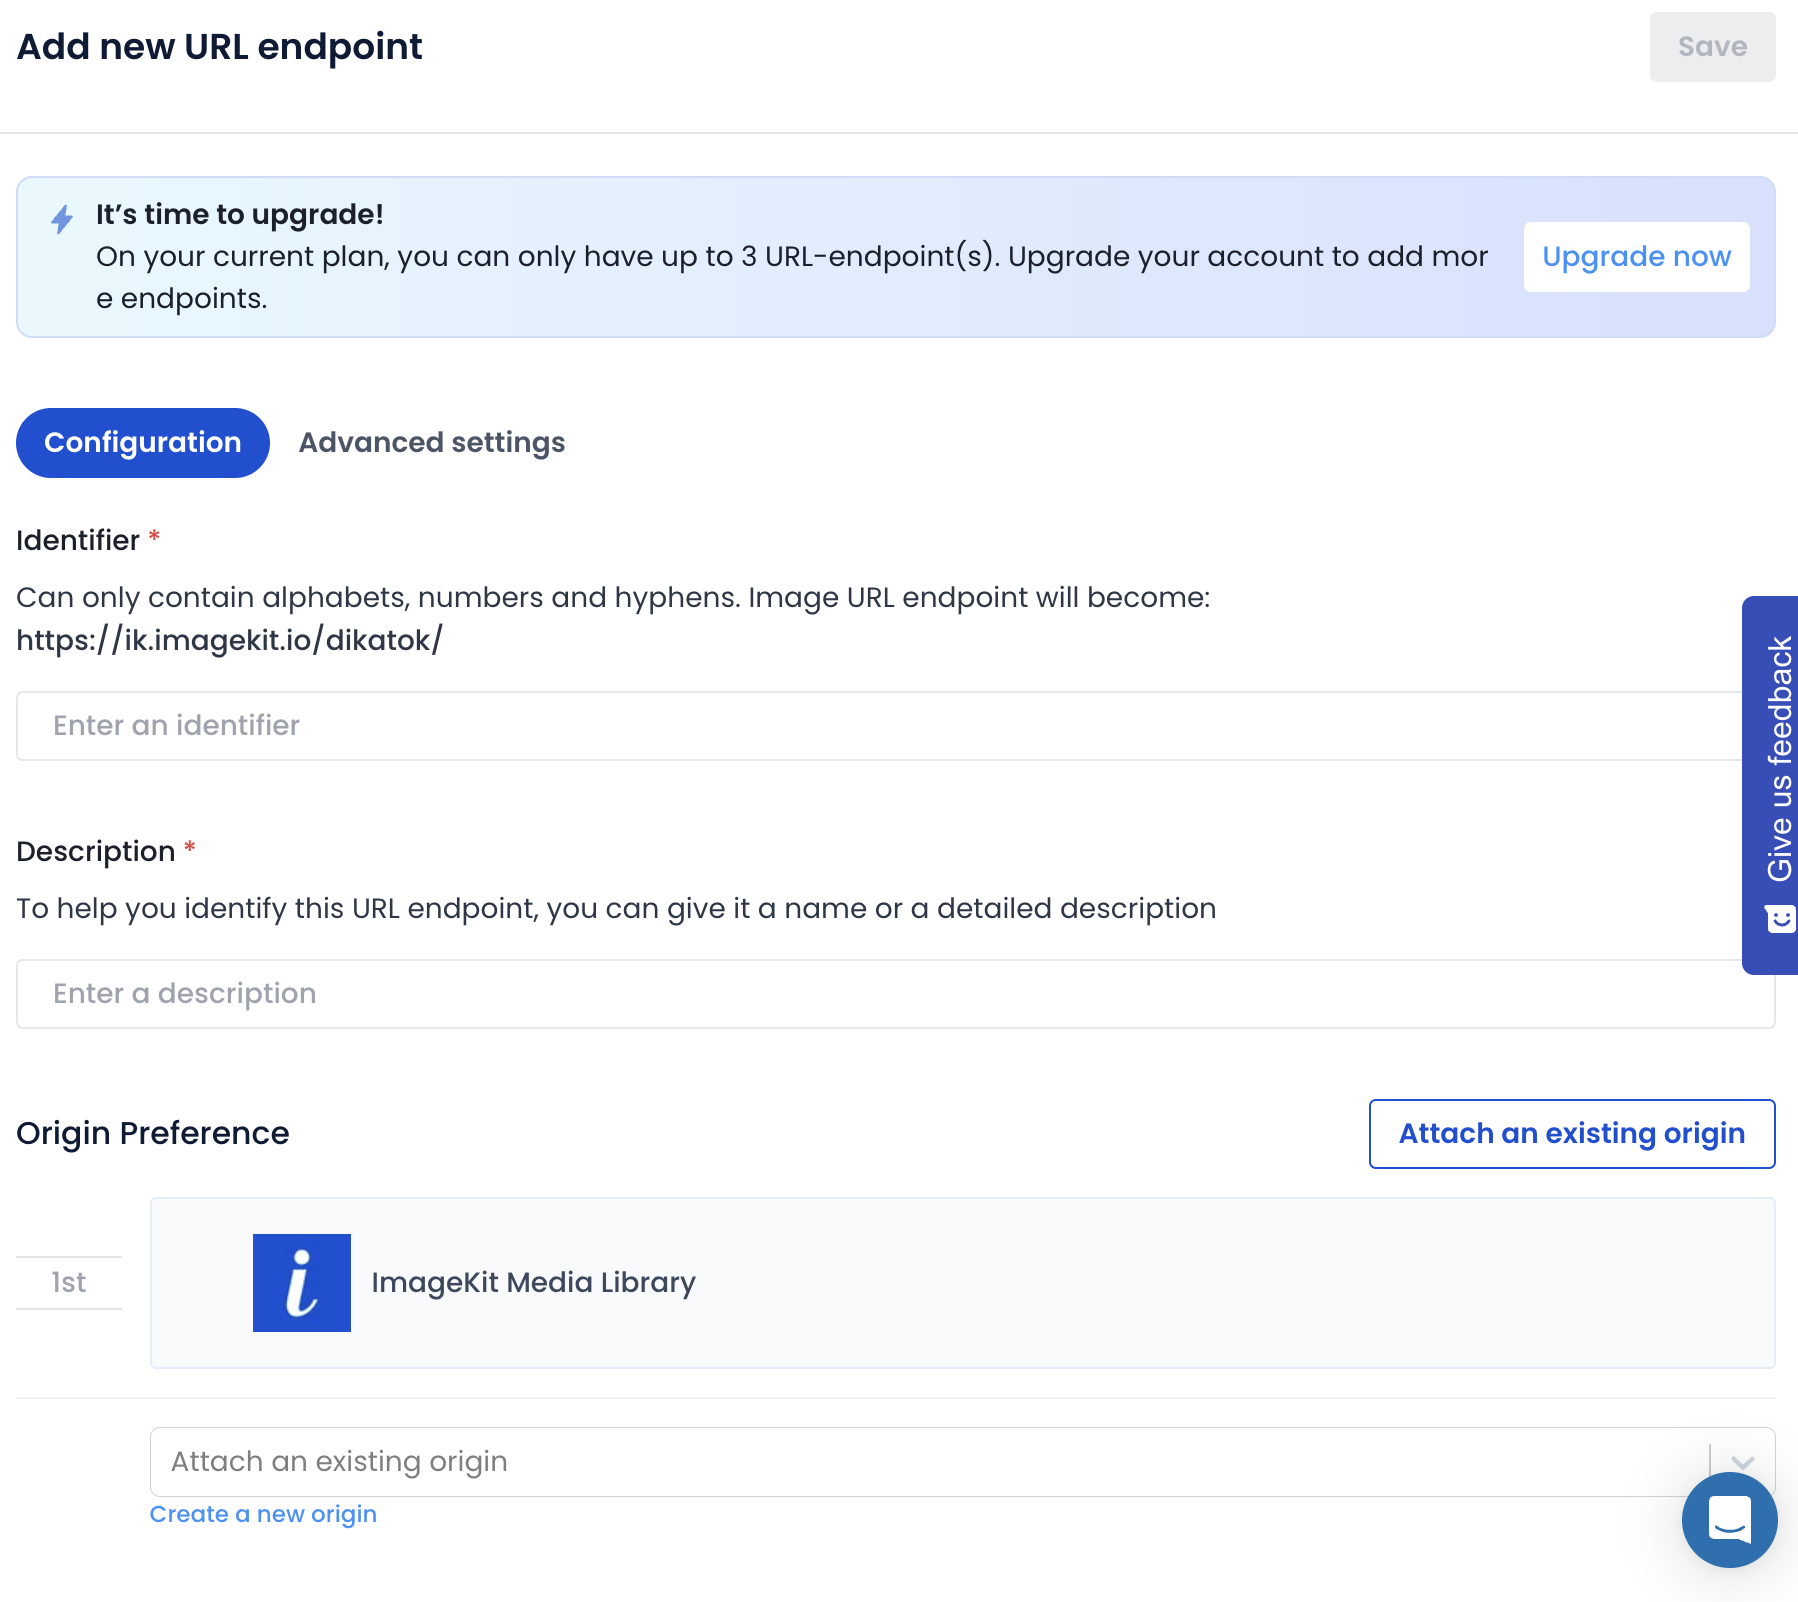
Create a New URL Endpoint: Now, we’ll create a new URL endpoint to utilize this external storage as the origin. Go to the “URL Endpoints” page. Create a new URL endpoint, fill in an identifier and description, and add your configured external storage as an existing origin.
-
Access Your Images: Done! You should now be able to access your images using a URL format like
https://ik.imagekit.io/{username}/{identifier}/image.jpeg
Beyond Delivery: Image Transformation and Optimization
I believe this is the simplest and most secure way to expose your images without making the bucket public or requiring you to push them to a dedicated CDN. But there’s more! Remember how I mentioned ImageKit’s other features, like image transformation? You can perform operations such as https://ik.imagekit.io/{username}/{identifier}/image.jpeg?tr=l-text,i-discounted,l-end,w-300,h-300. This example resizes the image to 300x300 pixels and overlays a “discounted” text label on top of it – pretty amazing, isn’t it?
Congratulations, folks! You’ve learned how to deliver images from your cloud file storage provider to your frontend applications in what I consider the most efficient and secure way possible. I don’t think there are many image delivery services that currently outperform what ImageKit offers.